
Khadas VIM1S — Console OS & Rescue Downloads
Downloads
Download the ready-to-flash Khadas VIM1S (Amlogic S905Y4, quad-core Cortex-A35, 2 GB LPDDR4) couch-console OS image and optional 32 MB SPI NOR Flash rescue image below:
| Image & Target | Direct Download |
|---|---|
VIM1S Console OS (18.9 MiB compressed / 47 MiB raw — USB Stick, microSD Card, or 16 GB eMMC) | Download OS (.img.gz) |
VIM1S SPI NOR + OOWOW Rescue (19.4 MiB compressed / 32 MiB raw — 32 MB SPI NOR Flash mtd0) | Download SPI (.bin.gz) |
SHA-256 Checksums (vim1s-sha256sums.txt) | Download SHA-256 (.txt) |
SHA-256 Checksums
vim1s-console-os.img.gz:1ad5645fc9026e7fd7cff01f8322fd62d70a1eaad41f16d2afea77249ff48b7dvim1s-console-os.img(uncompressed):37f5b5394342ba9da8474440586d4609e3a1772cfd8544d214ff155e58e30c90vim1s-spi-rescue.bin.gz:e1721fd6286235f6b4835b38325441fb9f61549db6f56cc20f8477c4d4d2cbba
Easy 3-Step Setup Guide
You do not need a serial cable, terminal commands, or Linux experience. Everything works straight from the couch with an HDMI TV/monitor and a USB/Bluetooth controller or the Khadas IR remote.
Step 1 — Flash the Image to a USB Stick (or Directly to eMMC via OOWOW)
- Option A — Graphical Flash to a USB Stick (Recommended for Beginners):
- Download vim1s-console-os.img.gz (
18.9 MiB). - Open Balena Etcher (or Rufus on Windows / Raspberry Pi Imager on macOS & Linux), select
vim1s-console-os.img.gz, select any USB flash drive, and click Flash. - Plug the flashed USB stick into one of the VIM1S USB-A ports and connect HDMI + USB-C power.
- Option B — Flash Directly to Internal
16 GBeMMC:
- Boot your VIM1S into OOWOW (hold the middle Function button while pressing Reset once, then release after 3 seconds).
- Open the OOWOW Shell (or boot from the USB stick from Option A) and write the image to
/dev/mmcblk0:
gzip -dc vim1s-console-os.img.gz | dd of=/dev/mmcblk0 bs=4M conv=fsyncStep 2 — Optional: Restore Factory SPI NOR Flash (mtd0)
Only needed if your board's 32 MB SPI NOR bootloader or OOWOW recovery system was erased or corrupted:
gzip -dc vim1s-spi-rescue.bin.gz | dd of=/dev/mtdblock0 bs=64k conv=fsyncStep 3 — Insert Any microSD Card and Play
- Insert any microSD card of any size (
8 GBup to1 TB+) into the VIM1S microSD slot. - The console OS automatically detects unformatted or foreign storage cards and prepares two clean partitions while keeping your factory bootloader untouched:
games(p1): Dedicated storage for native ARM64 game ports (/mnt/games/games/).saves(p2): Persistent storage for savegames, custom browser shortcuts, and your Linux terminal home directory.
- Connect to your Wi-Fi network under [3] Wi-Fi, adjust
1080p@60Hzor720p@60Hzunder [6] Settings/HDMI, and add your own custom web tiles under [2] Browser →[+] Add Shortcut. - Whenever a microSD card is inserted, the [7] Terminal tile appears automatically on the home screen — opening
VIM1S // Terminal(root@vim1s:~#) with persistent package support (apk,apt,npm,pip,python3,claudeCLI) and the built-in large-letter controller On-Screen Keyboard (SELECT/MENU).
Screenshots — VIM1S Couch Console UI
VIM1S // Home KMS/DRM Launcher | VIM1S // Terminal (Fullscreen Shell + Large-Letter OSK) |
|---|---|
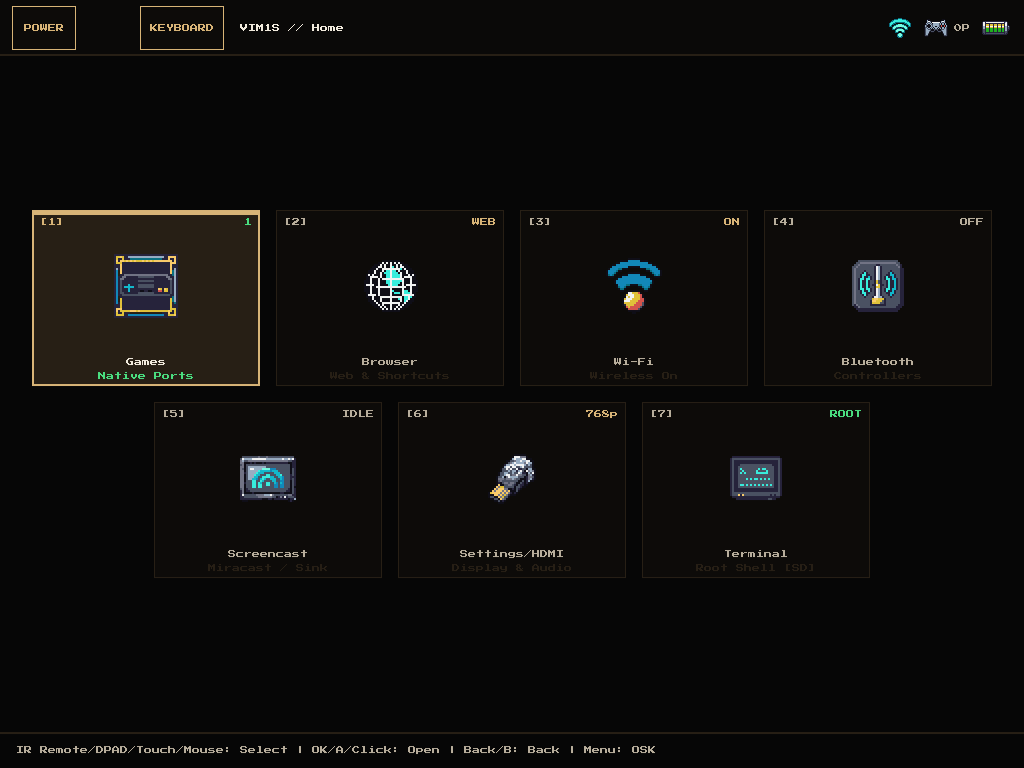 | 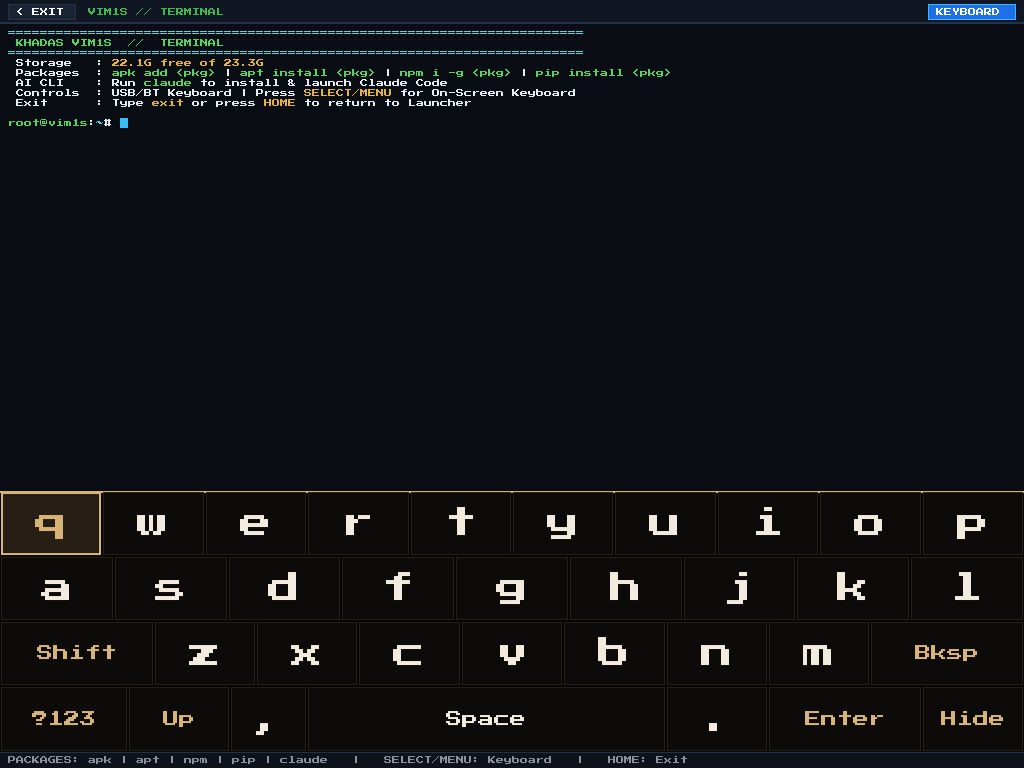 |
| Zero-X11 KMS/DRM couch-console home screen with Native Ports, Browser, Wi-Fi, Bluetooth, Screencast, Settings/HDMI, and Terminal. | Clean fullscreen VIM1S // Terminal (root@vim1s:~#) with apk, apt, npm, pip, claude CLI, and unified large-letter controller keyboard. |
VIM1S // Browser Custom User Shortcuts | VIM1S // Settings / HDMI (1080p / 720p) |
|---|---|
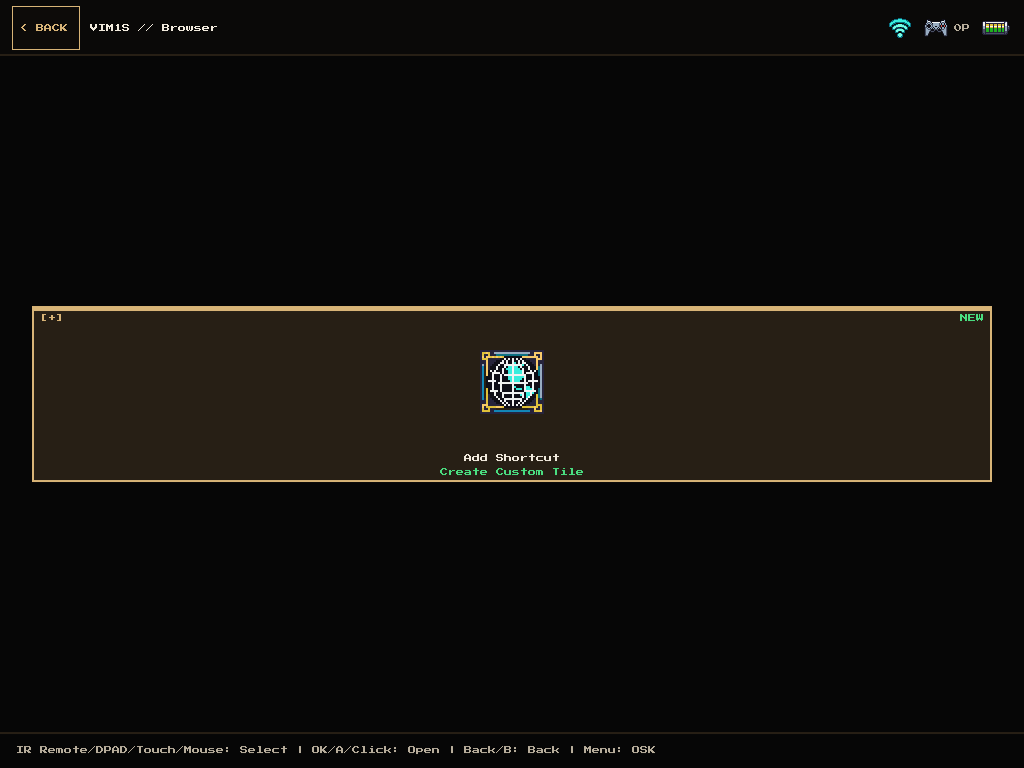 | 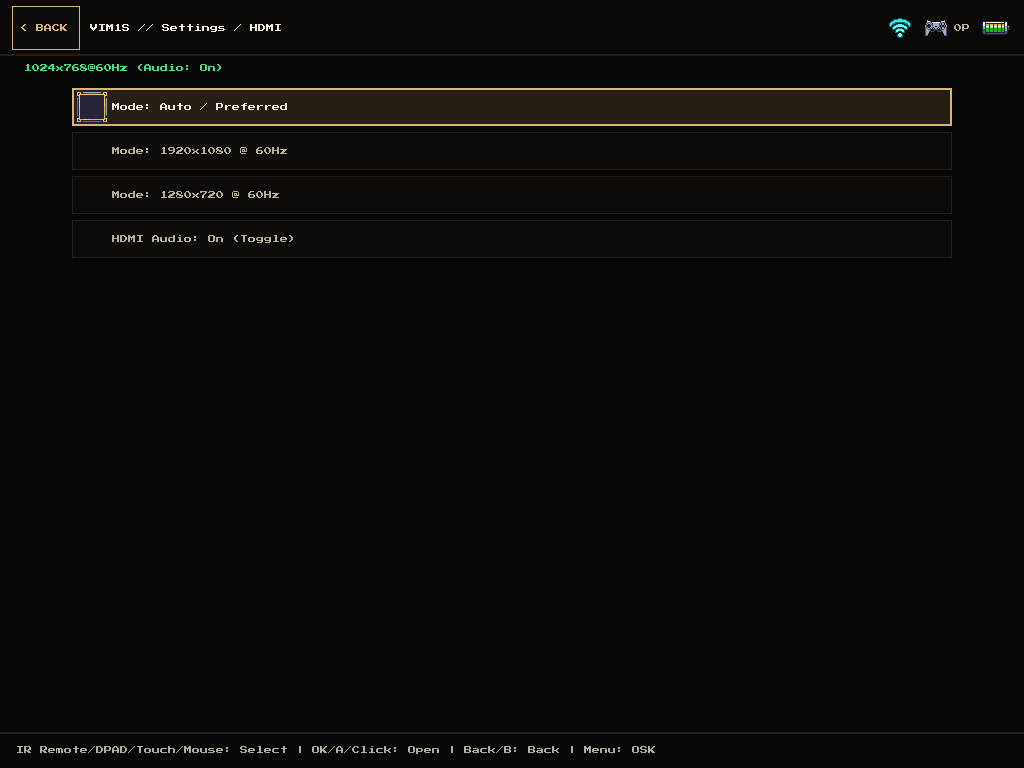 |
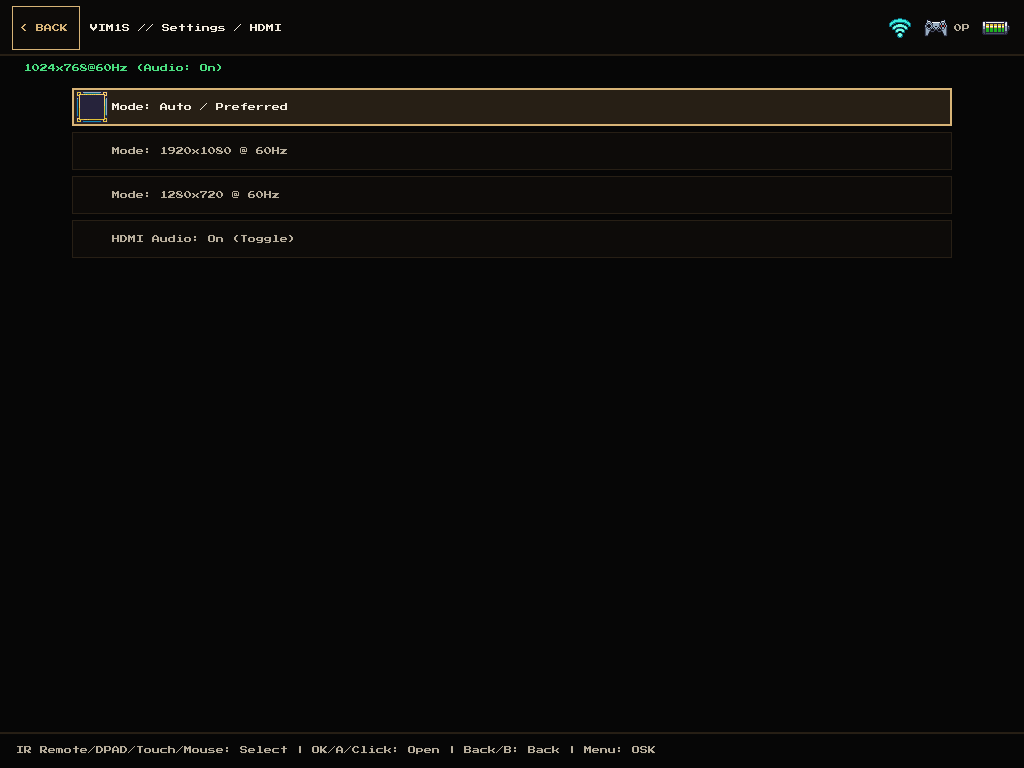
Clean browser view with zero premade bloat — create your own custom web tiles via [+] Add Shortcut. | Live HDMI mode switching (Auto, 1920x1080 @ 60Hz, 1280x720 @ 60Hz) and HDMI audio toggle. |
VIM1S // Wi-Fi Access Point Manager | Built-In 4-Row Controller On-Screen Keyboard (Large Letters) |
|---|---|
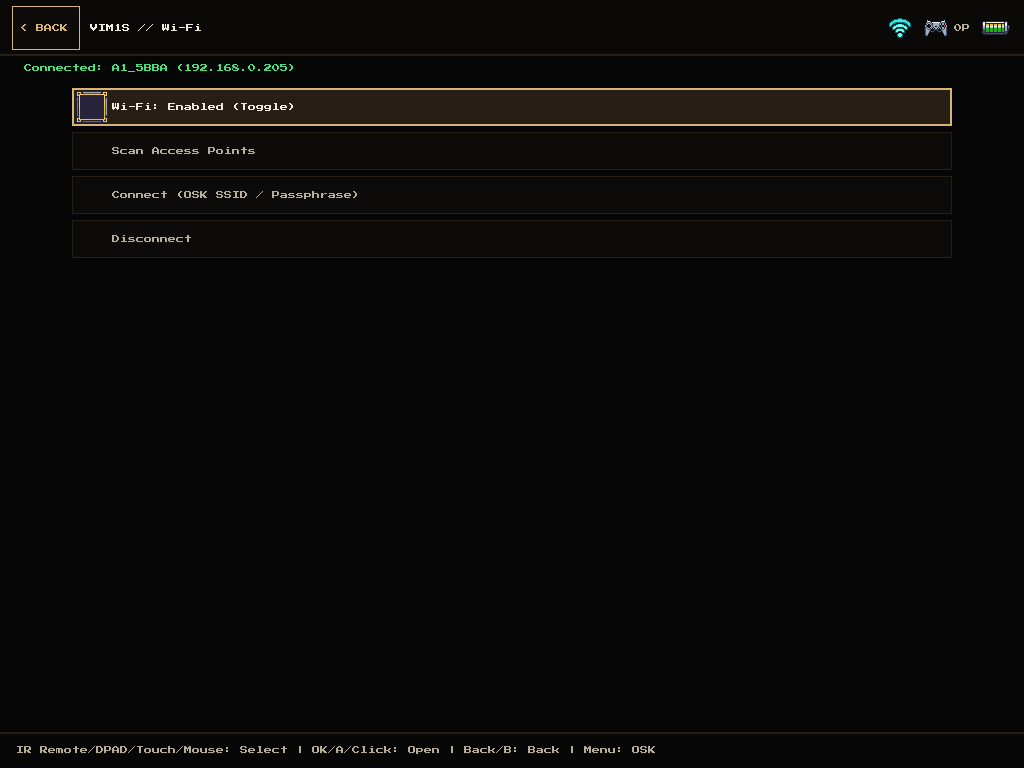 | 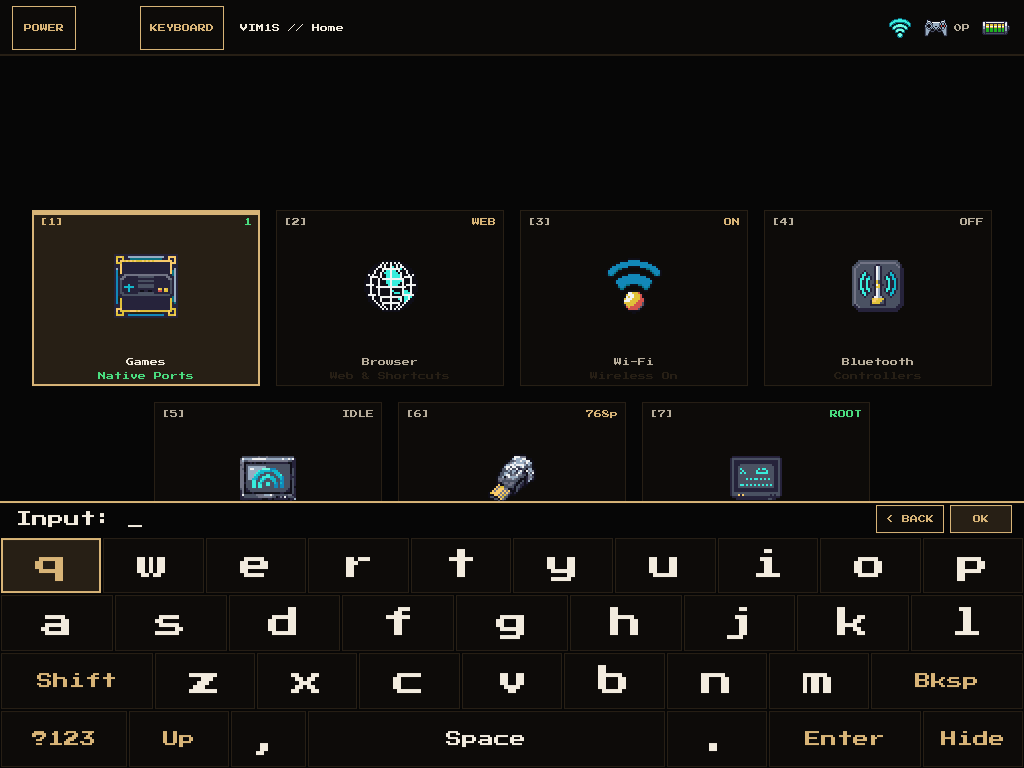 |
| Scan and connect to 2.4/5 GHz Wi-Fi networks directly from your gamepad or IR remote. | Full 4-row high-visibility QWERTY & symbol on-screen keyboard (Menu / SELECT / KEYBOARD) across both Launcher and Terminal. |
Under the Hood — Hardware and Partition Architecture
| Partition / Device | Offset & Size | Content & Purpose |
|---|---|---|
Amlogic Bootloader (FIP) | sector 0 (0–1 MiB) | Signed BL2 / BL31 / U-Boot 2015 for Amlogic S905Y4 (kvim1s) |
Boot Partition (p1) | 1 MiB (32 MiB FAT16, BOOT) | Linux 5.4.180 aarch64 kernel (Image), kvim1s.dtb, and U-Boot script |
Immutable System Rootfs (p2) | 33 MiB (14 MiB SquashFS) | Read-only SquashFS system image with RAM tmpfs runtime overlay for instant power-off safety |
Expandable Storage (mmcblk1) | Any Capacity (p1: games, p2: saves) | Auto-initialized games (ext4) + saves (ext4 for savegames, browser tiles, and persistent terminal packages) |
SPI NOR Rescue (mtd0) | 32 MB (vim1s-spi-rescue.bin.gz) | Factory U-Boot FIP (0x000000), env (0x180000), and Khadas OOWOW rescue system (0x200000) |